Basic Tiling Repairs You Can Do Yourself
Tiling repairs can seem daunting, but with some preparation and the right tools, you can accomplish them yourself. First, gather your materials: tiles that match your existing ones, a tile cutter, adhesive, grout, and a sponge. Begin by removing damaged tiles carefully using a chisel and hammer, ensuring you don’t damage surrounding tiles. Once the tile is free, clean the surface to remove old adhesive. Apply new adhesive to the back of the new tile and use the tile cutter for any necessary adjustments. Press the tile firmly into place and ensure it’s level using a spirit level. Wait for the adhesive to dry as per the manufacturer’s instructions to avoid any mistakes. After it has cured, mix your grout as directed, and fill the gaps between tiles. Use a float to smooth the grout and wipe excess off with a damp sponge. Allow the grout to set, following the recommended waiting period. Finally, consider sealing the grout to protect it from stains and moisture.
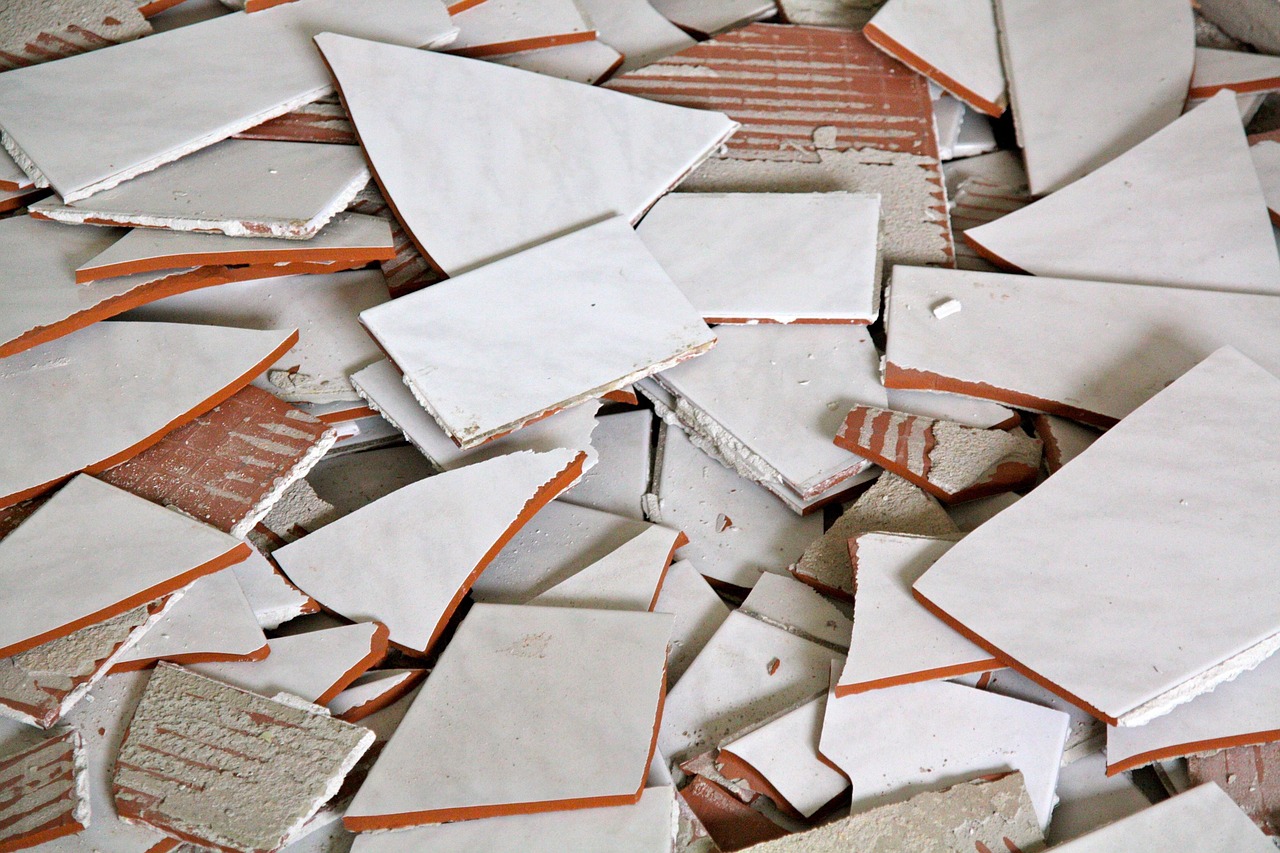
One common problem with tiles is cracks created by impacts or temperature changes. To repair a cracked tile, the process can be somewhat different compared to replacing a fully broken tile. First, assess the damage; if the crack does not affect the tile’s structural integrity, it may just need filling. You can apply a color-matched epoxy filler to the crack, which will blend with the tile color and provide a strong finish. After the filler has cured, gently sand it down until it is flush with the surrounding surface. If the tile is severely cracked, you might have to replace it. The same removal techniques from before apply here. Be careful as you work, as cracks can spread. When replacing, ensure that the surrounding tiles are clean and dry, allowing for a strong bond with the new adhesive. After applying, grout as you normally would. Adapting your approach to the severity of the damage can save time and effort.
Restoring Grout Lines
The grout between tiles often discolors or becomes damaged over time, making your tiled area look old and unkempt. Luckily, recoloring and repairing grout is within reach for most DIY enthusiasts. Begin by cleaning the grout lines thoroughly; this may involve using a mixture of vinegar and baking soda or a commercial grout cleaner. Once cleaned, inspect for cracks or deterioration. Use a grout saw to carefully remove damaged grout, taking care not to disturb adjacent tiles. After removal, you will need to reapply fresh grout to the lines. Before doing so, ensure your workspace is dust-free. Mix the grout according to the instructions on the package, and apply it with a grout float, pressing the grout into the spaces. After it has set, use a damp sponge to wipe away excess grout from the surface of the tiles. This requires some finesse, as too much pressure can displace the newly applied grout. Allow it to fully cure for several days depending on conditions, and consider sealing it afterward to protect against future stains.
Tile flooring can also become slippery, particularly when wet, which can present a safety hazard. One solution to this issue is to apply a slip-resistant treatment to your tiles. These treatments can be found at local hardware stores and typically involve a simple application process. Before applying, clean your tiles thoroughly to ensure that the treatment adheres well. Follow the manufacturer’s instructions carefully, as application may involve sprays or liquids that must be distributed evenly across the surface. After application, you may need to allow it to cure to be fully effective. This can help restore peace of mind in your home, especially in high-traffic areas like kitchens and bathrooms. Beyond treatments, consider adding rugs or anti-slip mats to increase safety in areas prone to spills or splashes. Regular maintenance of these areas is important as well; mop frequently and check mats for fraying or wear. With these strategies and a little effort, you can keep your tile flooring safe and functional.
Replacing Loose Tiles
Sometimes, you may notice that tiles start to become loose due to age, moisture, or improper installation. Addressing loose tiles swiftly is essential to prevent further damage and ensure stability in your flooring or walls. Begin by lifting up the loose tile gently to inspect the underlying adhesive. If the adhesive has degraded, clean the area thoroughly before applying new adhesive. Depending on the type of adhesive used, you may need specific solvents for cleaning. Once cleaned, apply a generous amount of adhesive to the back of the tile or the tiled surface, then press the tile down firmly. It is crucial to ensure it is level with surrounding tiles to maintain a uniform appearance. Secure the tile in place with heavy books or weights while the adhesive cures, following the product guidelines for drying times. After curing, you should apply grout around the edges to seal the tile in place, ensuring minimal movement. Be sure to wipe any excess grout promptly for a clean finish.
Another aspect of tile repair is dealing with chipped tiles, which can detract from the overall appearance of your space. To repair a chip, you will need a color-matched epoxy filler similar to what you might use for cracks. Determine the size and depth of the chip before purchasing your filler. Clean the area thoroughly, allowing it to dry completely. Apply the epoxy filler carefully to the chipped area and use a small spatula or your finger to smooth it out, ensuring it blends with the surrounding tile surface. Allow proper curing time as indicated on the product packaging. If the filler does not match perfectly, you can consider painting it with a tile touch-up pen or sealer that matches your tiles. Once completed, maintaining the area through cleaning can help prevent future damage and discoloration. It’s important to regularly check for any new chips or wear and address these issues promptly, keeping your tiles looking their best for a longer time.
Preventative Maintenance Tips
To ensure your tiled areas maintain their beauty and function, implementing preventative measures can go a long way. Regular cleaning is key; dirt and grime can cause wear over time, so establish a routine that involves sweeping and mopping with the appropriate cleaners for your tile material. Avoid harsh chemicals as they may damage the finish. Additionally, consider applying sealants to grout lines and tiles to protect them against moisture and stains, especially in high-traffic areas. Inspect your tiles every few months for cracks, chips, or loose tiles to catch potential problems early. Investing in an anti-slip finish enhances safety while also extending the life of your tiles through added protection. Don’t forget about climate considerations; controlling humidity levels can help reduce moisture damage, particularly in bathrooms and kitchens. Finally, be careful with heavy items placed on tiled surfaces, as dropping them can cause cracks. By following these preventative tips, you can save money on repairs and enjoy your beautiful tile installations longer.
In conclusion, DIY tile repair is an accessible project for homeowners looking to save money and maintain their living spaces effectively. Basic repairs from re-grouting and crack filling to replacing loose or chipped tiles are well within your skill set with the right tools and materials. Always start by assessing the issue at hand and determining the best approach based on the severity of the damage. Take your time to gather all necessary supplies, as a well-prepared workspace allows for smoother execution. Remember the importance of following manufacturer instructions on adhesives and grout to achieve the best results. Furthermore, never hesitate to seek professional help for complex or extensive tile damage, as there’s no harm in asking for advice when needed. With attention to detail and patience in your approach, your DIY tile repair efforts can lead to great satisfaction and a refreshed living space. So, whether you are fixing a small chip or redoing a whole surface, embrace these challenges. Success in DIY tile repairs not only enhances your home’s aesthetic appeal but also adds value.